In this article we are connecting an Wio Terminal to Nimbus MQTT solution platform.
Learn how to set up the Wio Terminal using WiFi and how to send/receive data over Nimbus808
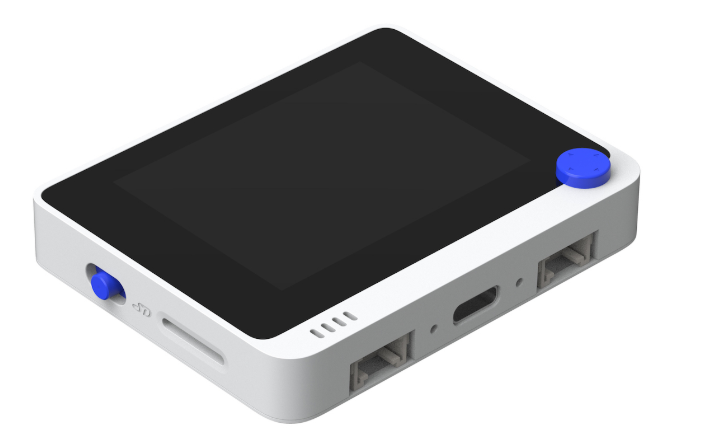
The Wio Terminal, developed by Seeed Studio, is a compact IoT device featuring a 2.4″ LCD screen, IMU, microphone, buzzer, microSD card slot, light sensor, infrared emitter, and built-in Wi-Fi and Bluetooth connectivity. A notable advantage of this device is its compatibility with the Arduino IDE for programming.
Requirements:
- Wio Terminal
- Nimbus808 account
- Arduino IDE
- C++ Language Experience
Wio Terminal Configuration
This guide assumes your Wio Terminal has been configured and is already connected to the internet utilizing the RTL8720DN’s Wi-Fi Stack.
Additionally, it assumes that you have downloaded and installed the ArduinoMqttClient by Joel Gaehwiler (Github: 256dpi/arduino-mqtt) library. ArduinoMqttClient is a popular C++ library that simplifies making MQTT requests on an Wio Terminal device.
Sending data to Nimbus8083
Code Portion
Copy and paste the below code into the Arduino IDE project; assigning your nimbus808 broker, and WiFi information where indicated in the code.
#include <rpcWiFi.h>
#include <MQTT.h>

const char ssid[] = "";
const char pass[] = "";
# Put your WiFi information here

WiFiClient net;
MQTTClient client;

unsigned long lastMillis = 0;

void connect() {
  Serial.print("checking wifi...");
  while (WiFi.status() != WL_CONNECTED){
    Serial.print(".");
    delay(1000);
  }

  Serial.print("\nconnecting...");
  while (!client.connect("arduinoTestClient")) {
    Serial.print(".");
    delay(1000);
  }

  Serial.println("\nconnected!");
}


void setup() {
  # put your setup code here, to run once:
  Serial.begin(115200);

  Serial.println("Hello, Wio Terminal!");
  WiFi.begin(ssid, pass);

  client.begin("test.mosquitto.org", 1883, net);
  # Put your Nimbus808 Broker information here

  connect();

  client.subscribe("/button_status");
}

void loop() {
  # put your main code here, to run repeatedly:
  client.loop();
  delay(10); // this speeds up the simulation

  if (!client.connected()){
    connect();
  }

  if (millis() - lastMillis > 1000){
    lastMillis = millis();
    client.publish("/hello", "world");
  }
}
Once the code has been written in your Arduino IDE connect and download the program.
Receiving data from Nimbus808
Code Portion
Copy and paste the below code into the Arduino IDE project; assigning your nimbus808 broker, and WiFi information where indicated in the code.
#include <rpcWiFi.h>
#include <MQTT.h>

const char ssid[] = "";
const char pass[] = "";

WiFiClient net;
MQTTClient client;

unsigned long lastMillis = 0;

void connect() {
  Serial.print("checking wifi...");
  while (WiFi.status() != WL_CONNECTED){
    Serial.print(".");
    delay(1000);
  }

  Serial.print("\nconnecting...");
  while (!client.connect("arduinoTestClient")) {
    Serial.print(".");
    delay(1000);
  }

  Serial.println("\nconnected!");
}

void messageReceived(String &topic, String &payload){

  if (topic == "/button_status") {
    Serial.println(payload);
  }
}

void setup() {
  // put your setup code here, to run once:
  Serial.begin(115200);

  client.onMessage(messageReceived);

  Serial.println("Hello, Wio Terminal!");
  WiFi.begin(ssid, pass);

  client.begin("test.mosquitto.org", 1883, net);
  // Put your Nimbus808 Broker information here

  connect();

  client.subscribe("/button_status");
}

void loop() {
  // put your main code here, to run repeatedly:
  client.loop();
  delay(10); // this speeds up the simulation

  if (!client.connected()){
    connect();
  }

  if (millis() - lastMillis > 1000){
    lastMillis = millis();
    client.publish("/hello", "world");
    client.publish("/button_status", "Hello World");
  }
}
Once the code has been written in your Arduino IDE connect and download the program.