In this article we are connecting a Soracom IoT SIM to Nimbus808 solution platform using MQTT.
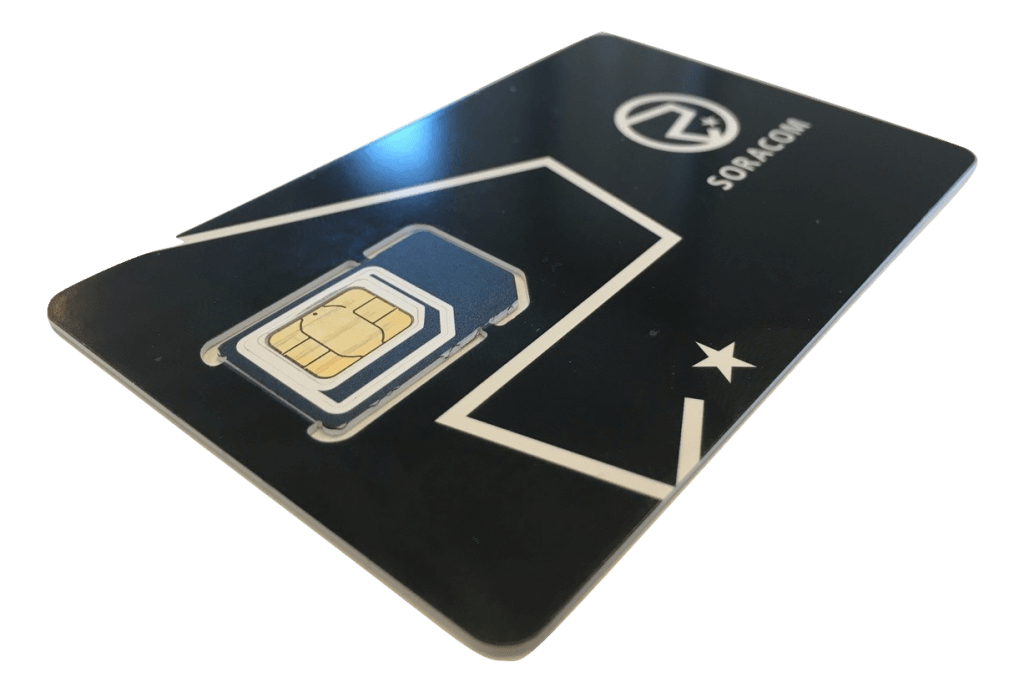
For global IoT deployments, Soracom SIM cards provide connectivity across multiple countries. They transmit data over 2G, 3G, 4G LTE, or Cat-M1 networks, keeping M2M devices connected in more than 300 countries.
In this article, you will learn how to use a Soracom SIM with an Arduino MKR GSM 1400 to send and receive data from Nimbus808. You can purchase a Starter IoT Kit directly from Soracom. For setup details, follow this guide.
Requirements
- Nimbus808 Account
- Arduino MKR GSM 1400 and antenna or any other GSM Module
- Arduino IDE
- Soracom IoT SIM Card
- Soracom Account
Register IoT SIM to a Soracom account
If you purchased a Soracom IoT Starter Kit, you can skip this step because your SIM is pre-registered.
If you purchased your IoT SIM separately, follow these steps to register it with your Soracom account.
Hardware Setup
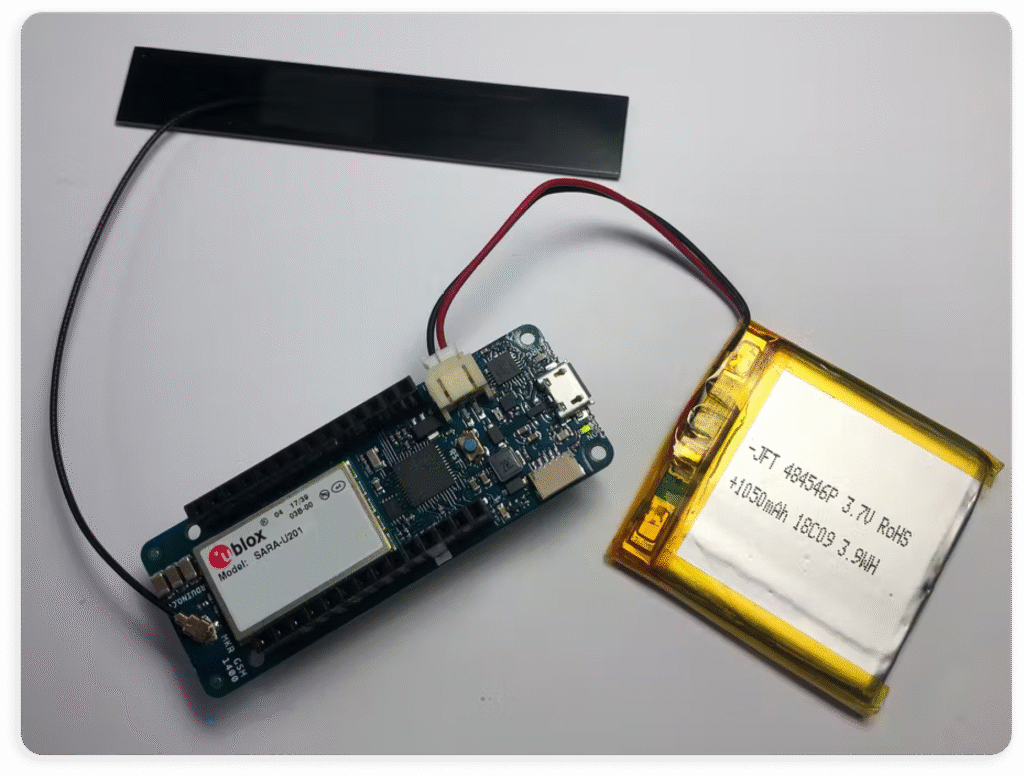
- Attach the antenna to the Arduino MKR GSM 1400.
- Although the PC’s USB port can power the device, it isn’t recommended. The GSM module can draw up to 2A, exceeding typical USB current limits. Use an external power supply, such as a LiPo battery or a high-current Vin source, instead.
Arduino IDE Setup
After downloading the Arduino IDE, install two essential components before using the Arduino MKR GSM 1400: the board definition and its library. Follow Soracom’s guide for step-by-step instructions on setting up the Arduino IDE.
IMEI Registration
Some countries require the GSM module to be registered according to their regulations in order to avoid having it blocked. Please search if your country requires this process and how it should be done.
Send Data to Nimbus
To send data to Nimbus, simply copy the following code to your IDE, assign the Token and Device label, then upload it to the board:
#include <Arduino.h>
#include <MKRGSM.h>
#include <PubSubClient.h>

#define SERIAL_SPEED 9600

#define PINNUMBER     ""
#define GPRS_APN      "soracom.io"
#define GPRS_LOGIN    "sora"
#define GPRS_PASSWORD "sora"

#define DEVICE_LABEL "<DEVICE_LABEL>"  // Optional: for topic naming
#define MQTT_SERVER "nimbus808.com"
#define MQTT_PORT   1883

GSMModem modem;
GSM gsmAccess(false); // debug AT commands if true
GPRS gprs;
GSMClient gsmClient;
PubSubClient client(gsmClient);

unsigned long lastMillis = 0;

// MQTT topic
String pubTopic = "/nimbus808/devices/" + String(DEVICE_LABEL) + "/data";

// Function to connect/reconnect to MQTT broker
void connectMQTT() {
  while (!client.connected()) {
    Serial.print("Connecting to MQTT...");
    if (client.connect(DEVICE_LABEL)) {
      Serial.println("connected!");
      // Subscribe if needed
      client.subscribe("/nimbus808/devices/" + String(DEVICE_LABEL) + "/commands");
    } else {
      Serial.print("failed, rc=");
      Serial.print(client.state());
      Serial.println(" trying again in 2s");
      delay(2000);
    }
  }
}

// MQTT callback for received messages
void callback(char* topic, byte* payload, unsigned int length) {
  Serial.print("Message received [");
  Serial.print(topic);
  Serial.print("] ");
  for (unsigned int i = 0; i < length; i++) {
    Serial.print((char)payload[i]);
  }
  Serial.println();
}

void setup() {
  Serial.begin(SERIAL_SPEED);
  SerialGSM.begin(115200);

  pinMode(LED_BUILTIN, OUTPUT);
  digitalWrite(LED_BUILTIN, HIGH);

  Serial.println(F("Starting S
After uploading the code, the data will start flowing into your Nimbus808 account.
Receiving Data from Nimbus
To retrieve a variable from Nimbus808, simply copy the following code to your IDE, assign the MQTT_SERVER, MQTT_PORT, Device label, and Variable label, then upload it to the board:
#include <Arduino.h>
#include <MKRGSM.h>
#include <PubSubClient.h>

#define SERIAL_SPEED 9600

#define PINNUMBER     ""
#define GPRS_APN      "soracom.io"
#define GPRS_LOGIN    "sora"
#define GPRS_PASSWORD "sora"

#define DEVICE_LABEL "<DEVICE_LABEL>"

#define MQTT_SERVER "nimbus808.com"
#define MQTT_PORT   1883

GSMModem modem;
GSM gsmAccess(false); // debug AT commands if true
GPRS gprs;
GSMClient gsmClient;
PubSubClient client(gsmClient);

unsigned long lastMillis = 0;

// Topic to subscribe to
String subTopic = "/nimbus808/devices/" + String(DEVICE_LABEL) + "/commands";

// Callback to handle incoming MQTT messages
void callback(char* topic, byte* payload, unsigned int length) {
  Serial.print("Message received [");
  Serial.print(topic);
  Serial.print("]: ");

  String message = "";
  for (unsigned int i = 0; i < length; i++) {
    message += (char)payload[i];
  }

  Serial.println(message);

  // Example: react to a command
  if (message == "LED_ON") {
    digitalWrite(LED_BUILTIN, HIGH);
  } else if (message == "LED_OFF") {
    digitalWrite(LED_BUILTIN, LOW);
  }
}

// Connect/reconnect to MQTT broker
void connectMQTT() {
  while (!client.connected()) {
    Serial.print("Connecting to MQTT...");
    if (client.connect(DEVICE_LABEL)) {
      Serial.println("connected!");
      // Subscribe to commands topic
      client.subscribe(subTopic.c_str());
    } else {
      Serial.print("failed, rc=");
      Serial.print(client.state());
      Serial.println(" retrying in 2s");
      delay(2000);
    }
  }
}

void setup() {
  Serial.begin(SERIAL_SPEED);
  SerialGSM.begin(115200);

  pinMode(LED_BUILTIN, OUTPUT);
  digitalWrite(LED_BUILTIN, LOW);

  Serial.println(F("Starting Soracom MQTT subscriber test"));

  // Initialize GSM
  while (gsmAccess.begin(PINNUMBER, true, true) != GSM_READY) {
    Serial.println("GSM init failed, retrying...");
    delay(1000);
  }

  // Initialize GPRS
  while (gprs.attachGPRS(GPRS_APN, GPRS_LOGIN, GPRS_PASSWORD, true) != GPRS_READY) {
    Serial.println("GPRS attach failed, retrying...");
    delay(1000);
  }

  Serial.println("GPRS connected");

  // Initialize MQTT
  client.setServer(MQTT_SERVER, MQTT_PORT);
  client.setCallback(callback);

  connectMQTT();
}

void loop() {
  if (!client.connected()) {
    connectMQTT();
  }

  client.loop();

  // Optional: print heartbeat every 5 seconds
  if (millis() - lastMillis > 5000) {
    lastMillis = millis();
    Serial.println("Waiting for MQTT messages...");
  }
}
Summary
In this article, we covered how to use a Soracom SIM to send and receive data with Nimbus808. Now you can develop and deploy your IoT applications globally using Soracom’s SIM.
Have questions? Contact us for help