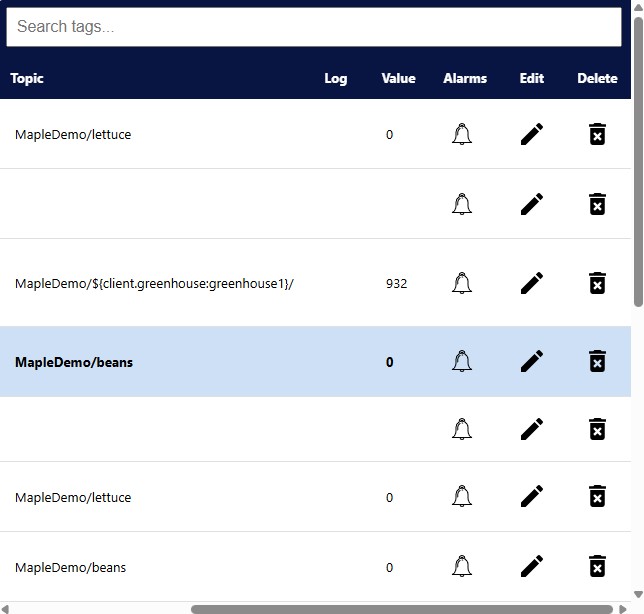
To add a tag alarm trigger(s), navigate the Data Source tab, find the tag on the Tag Table, click the Alarms icon on the row. If you do not see the tag, make sure you have the correct device selected on the Device Table. Tags are specific to devices.
Click on the Add Alarm Condition. A set-up page will open.

- Name: What is the name of the Alarm
- Message: The message to be displayed when the alarm is triggered. Messages are displayed on the Home page when the alarm is triggered.
- Expression: The formula (along with the Trigger Value) that will trigger the alarm.

Trigger Value: Used with the Expression formula, this is the set point for the alarm trigger.
Return to Normal Conditions (RTN): When this is checked ON, a secondary screen will open to set the RTN settings.

Use the Return to Normal conditions to avoid re-triggering the alarm when the value crosses the trigger limit many times, due to measurement noise for example. If a RTN condition is not enabled, the alarm state will be set to normal when the value crosses the trigger limit.
Click the Save, then OK.
Set Alarm Conditions will be listed under the tag. You can set up to 5 alarms per tag.